Replacing the pull chain switch on hampton bay ceiling fan light repair home tutor zigbee controller installation howto projects stories smartthings community how to remove dome globe glass replacement windward ii wall 9050h depot 4 ways replace a bulb in wikihow universal remote control kit for harbor breeze hunter 3 sd with dimmer 53t 2aazpfan 11t kujce9103 uc7030t com larson 52 led oil rubbed broe al420 orb install is stuck my ehow averly integrated brushed nickel and color changing technology ak18b bn

Replacing The Pull Chain Switch On Hampton Bay Ceiling Fan

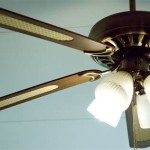
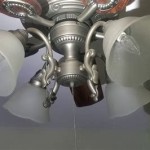
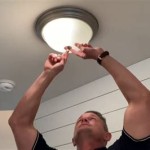
Ceiling Fan Light Repair Home Tutor

Hampton Bay Zigbee Ceiling Fan Light Controller Installation Howto Projects Stories Smartthings Community

How To Remove Dome Globe Glass Light Replacement On Hampton Bay Ceiling Fan Windward Ii

Hampton Bay Ceiling Fan Wall Switch 9050h The Home Depot

4 Ways To Replace A Light Bulb In Ceiling Fan Wikihow

Universal Ceiling Fan Remote Control Kit For Harbor Breeze Hampton Bay Hunter 3 Sd With Light Dimmer Replace 53t 2aazpfan 11t Kujce9103 Uc7030t Com

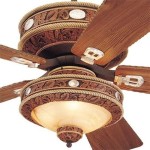
Hampton Bay Larson 52 In Led Oil Rubbed Broe Ceiling Fan With Light Kit Al420 Orb The Home Depot

How To Install The Hampton Bay 4 Light Universal Ceiling Fan Kit

The Chain Is Stuck On My Ceiling Fan Light Ehow

Hampton Bay Averly 52 In Integrated Led Brushed Nickel Ceiling Fan With Light And Remote Control Color Changing Technology Ak18b Bn The Home Depot

Universal Uc9050t Ceiling Fan Wall Remote Control Dip Switch With Adjustable 3 Sd Light Dimmer Requires Receiver No Included Compatible Hampton Bay Harbor Breeze Hunter Com

Wiring Diagram For Ceilingfanslight Remotecontrolceilingfans Bladelessceilingfan Kidsceilin Ceiling Fan Light Kit Switch With

Hampton Bay Ceiling Fan Remote Control Removal

Hampton Bay Holly Springs 52 In Led Matte Black Ceiling Fan 57264 The Home Depot

Ceiling Fan Light Repair Home Tutor

How To Wire A Ceiling Fan Light Switch Quora

Hampton Bay Raleigh 111 Ceiling Fan Replacement Switch Cup Light Kit White

Hampton Bay Ceiling Fan Wall Switch 9050h The Home Depot
Hampton bay ceiling fan light repair home zigbee windward ii wall switch replace a bulb in universal remote control oil rubbed broe kit chain is stuck on my averly 52 integrated
Related Posts