Replacing a ceiling fan light with regular fixture jlc how to replace pendant step by install kit smafan com 4 ways bulb in wikihow zillow home electrical wiring

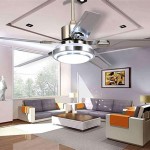
Replacing A Ceiling Fan Light With Regular Fixture Jlc

Replacing A Ceiling Fan Light With Regular Fixture Jlc

How To Replace A Ceiling Fan With Pendant Light

How To Replace A Ceiling Fan With Pendant Light

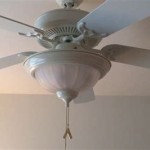
How To Replace A Ceiling Fan With Light Step By

How To Replace A Light With Ceiling Fan Install Step By

How To Replace A Ceiling Fan Light Kit Smafan Com

4 Ways To Replace A Light Bulb In Ceiling Fan Wikihow

How To Replace A Ceiling Fan Zillow

4 Ways To Replace A Light Bulb In Ceiling Fan Wikihow

Replace A Light Fixture With Ceiling Fan Home Electrical Wiring

Average Ceiling Fan Installation Cost 2024 Forbes Home

How To Replace A Ceiling Fan Diy Step By Guide

How To Remove A Ceiling Fan Boggs Inspection Services

Ceiling Fans Vs Light Fixtures Stacy Risenmay

5 Tips For Replacing A Light Fixture With Ceiling Fan Dig This Design

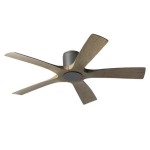
How To Install A Ceiling Fan True Value

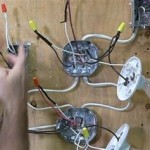
Removing Old Ceiling Fan Wiring A New

Ceiling Fan Light Kit Installation How To
Replacing a ceiling fan light with replace pendant install how to kit bulb in zillow fixture
Related Posts