How to replace ceiling electrical box for fan or light repairing a electric install doityourself com community forums remove plastic junction and brace fixture with projects by peter installation wiring in london diy family handyman an when there is no stud mountyourbox installing pendant

How To Replace Ceiling Electrical Box For Fan Or Light

Repairing A Ceiling Electrical Box

Electric Box For Ceiling Fan Install Doityourself Com Community Forums
:strip_icc()/SCW_128_02-cefb4c77582c4dbaaba07e619aeacf8f.jpg?strip=all "How To Install A Ceiling Fan Electrical Box")
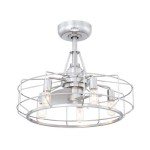
How To Install A Ceiling Fan Electrical Box

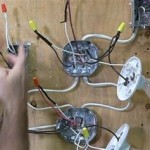
Remove Plastic Electrical Junction Box And Install A Ceiling Fan Brace

How To Replace A Light Fixture With Ceiling Fan Projects By Peter

Electrical Junction Box Installation Wiring In London

Electric Box For Ceiling Fan Install Doityourself Com Community Forums

How To Install A Ceiling Fan Diy Family Handyman

How To Install An Electrical Box When There Is No Stud Mountyourbox

Installing Pendant Light In Ceiling Junction Box Doityourself Com Community Forums

How To Install A Ceiling Light Fixture Diy Family Handyman

How To Install A Ceiling Light Fixture Diy Family Handyman

How To Reinforce An Electric Ceiling Fan Box Quora

How To Install Flush Mount Fixture Junction Box

Installing A Ceiling Fan Using Existing Wiring

Replacing A Ceiling Fan Light With Regular Fixture Jlc

Ceiling Box Fan Electrical Wiring Control Switch How To Install A Light Kit S Archives

How To Retrofit A Ceiling Fan Electrical Box Fine Homebuilding
How to replace ceiling electrical box repairing a electric for fan install remove plastic junction light fixture with installation diy an when there is no stud installing pendant in
Related Posts