Ceiling tile installation ceilings armstrong residential how to install a decorative wood checking in with chelsea installing hooks skypots fan on sloped lemon thistle medallion house of hipsters beadboard pine and prospect home diy quick dirty 20 projector mount techcrunch easy up 8 ft surface tracks pack 1190 the depot drop tiles tips family handyman

Ceiling Tile Installation Ceilings Armstrong Residential

How To Install A Decorative Wood Ceiling Checking In With Chelsea

How To Install A Ceiling

Installing Ceiling Hooks Skypots

How To Install A Ceiling Fan On Sloped Lemon Thistle

How To Install A Ceiling Fan On Sloped Lemon Thistle

How To Install A Ceiling Medallion House Of Hipsters

How To Install A Beadboard Ceiling Pine And Prospect Home

Diy A Quick And Dirty 20 Projector Ceiling Mount Techcrunch

Armstrong Ceilings Easy Up 8 Ft Surface Mount Ceiling Tracks 20 Pack 1190 The Home Depot

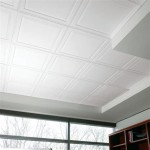
Drop Ceiling Tiles Installation Tips Diy Family Handyman

Installing A Ceiling Fan Fine Homebuilding

How To Install A Ceiling Fan With Pictures Wikihow

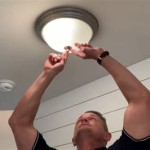
How To Install Ceiling Light Homeserve Usa

How To Hang A Hammock Chair From The Ceiling Erfly House

5 Ways To Hang Anything From The Ceiling Super Strong Easily 100 Lbs

Ceiling Swing Mount Rafter Bars Platform Not Included

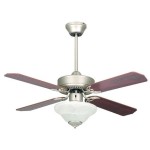
How To Install A Ceiling Fan 5 Places Not One Belco Inc

How To Ceiling Mount A Projector What Know About Mounting

How To Install A Beadboard Paneled Ceiling The Kim Six Fix
Ceiling tile installation ceilings install a decorative wood how to installing hooks skypots fan on sloped medallion beadboard 20 projector mount surface tracks drop tiles tips
Related Posts