How to installing recessed lighting upshine install fixthisbuildthat fine homebuilding led on high ceiling a 200 diy project like pro our home made easy 8 installation tips for diyers bob vila lights in drop temecula handyman can the depot new work

How To Installing Recessed Lighting Upshine

How To Install Recessed Lighting Fixthisbuildthat

Installing Recessed Lighting Fine Homebuilding

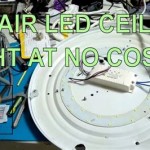
How To Install Led Recessed Lighting On High Ceiling A 200 Diy Project

How To Install Recessed Lighting Like A Pro Our Home Made Easy

8 Recessed Lighting Installation Tips For Diyers Bob Vila

How To Install Recessed Lighting Fixthisbuildthat

How To Install Recessed Lights In A Drop Ceiling Temecula Handyman

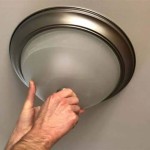
Recessed Lighting Installation Bob Vila

How To Install Recessed Lighting Can Lights The Home Depot

How To Install New Work Recessed Lighting

Energy Star Ask The Experts S

How To Wire Recessed Lighting Tabletop Walk Through

8 Recessed Lighting Installation Tips For Diyers Bob Vila

How To Install Recessed Lighting Fixthisbuildthat

Install Recessed Lighting Installing Kitchen Design Ceiling Lights

How To Install Recessed Lighting Diy Projects Craft Ideas S For Home Decor With

How To Put Recessed Lights In The Ceiling

Install Recessed Lighting In Your Home Office
How to installing recessed lighting install fine led on like a 8 installation tips lights in bob vila can new work