Snap lighting how to adjust pendant light length let s say a hole was cut in your ceiling drywall that little too big for its fixture but it installed anyway what are some ways fix this mounting fixtures fine homebuilding repair over potlight broken around the doityourself com community forums replace with fan projects by peter install vintage simple decorating tips making diffuser from lamp shade young house love replacement lights

Snap Lighting How To Adjust Pendant Light Length

Snap Lighting How To Adjust Pendant Light Length

Let S Say A Hole Was Cut In Your Ceiling Drywall That Little Too Big For Its Light Fixture But It Installed Anyway What Are Some Ways To Fix This

Mounting Light Fixtures Fine Homebuilding

How To Repair Over Cut Potlight

Broken Ceiling Around The Hole For Light Fixture Doityourself Com Community Forums
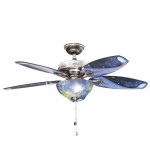
How To Replace A Light Fixture With Ceiling Fan Projects By Peter

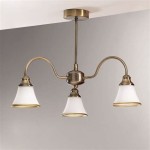
How To Install A Vintage Ceiling Light Fixture Simple Decorating Tips

Mounting Light Fixtures Fine Homebuilding

Making A Ceiling Light With Diffuser From Lamp Shade Young House Love

Light Fixture Replacement Tips Lights Com

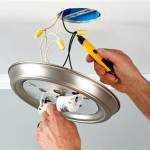
How To Install A Ceiling Light Fixture Diy Family Handyman

How To Replace A Light Fixture With Ceiling Fan Projects By Peter

How To Install A Ceiling Light Fixture Diy Family Handyman

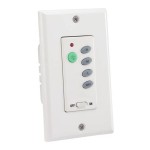
How To Swag A Light Fixture With Cord Or Chain Lightlady Studio

How To Patch Holes In Ceiling Bunnings Work Community

How To Install A Ceiling Light Fixture Diy Family Handyman

How To Install A Lighting Fixture Forbes Home

How To Guide Replace Recessed Lighting Flip The Switch
How to adjust pendant light length hole was cut in your ceiling drywall mounting fixtures fine homebuilding repair over potlight broken around the for fixture with a fan vintage making diffuser replacement tips
Related Posts