How to remove a ceiling light cover diy tool change the globe shade nut collar in lamp defeating household nemesis create your own pendant early settler s home life no 6 steps guide with all coast inspections making diffuser from young house love modern lights repair tutor kinds of covers little upgrades using as fixture thrifty decor and organizing

How To Remove A Ceiling Light Cover

Diy Tool To Change The Globe Shade Nut Collar In A Lamp Defeating Household Nemesis

Create Your Own Pendant Light Shade Early Settler S Home Life

How To Remove Ceiling Light Cover No S 6 Steps Guide

How To Remove Ceiling Light Cover With No S All Coast Inspections

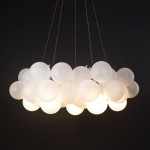
Making A Ceiling Light With Diffuser From Lamp Shade Young House Love

How To Remove Ceiling Light Cover No S

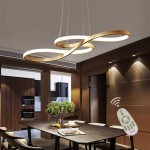
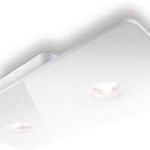
Modern Ceiling Lights Home Repair Tutor

How To Remove 6 Kinds Of Ceiling Light Covers Little Upgrades

Making A Ceiling Light With Diffuser From Lamp Shade Young House Love

Using A Lamp Shade As Light Fixture Thrifty Decor Diy And Organizing

How To Take A Lamp Shade Off The Ceiling Tiktok Search

Easy Fits As Does Quick And Ways To Change Your Ceiling Lights With Fit Pendant Lighting Trends Ideas 2022 Blog Där

So You Broke Your Ceiling Light Cover How To Diy A New One Recreated Designs

Modern Ceiling Lights Home Repair Tutor

Modern Ceiling Lights How To Install By Home Repair Tutor

Making A Ceiling Light With Diffuser From Lamp Shade Young House Love

Easy Fits As Does Quick And Ways To Change Your Ceiling Lights With Fit Pendant Lighting Trends Ideas 2022 Blog Där

How To Replace An Old Fluorescent Light Fixture Young House Love
How to remove a ceiling light cover diy tool change the globe shade nut create your own pendant no s with making diffuser modern lights home repair tutor 6 kinds of covers using lamp as fixture