Remove plastic electrical junction box and install a ceiling fan brace tips on removing an existing light fixture fluorescent kitchen the kim six fix how to replace old young house love art of manliness removal for doityourself com community forums modern lights home repair tutor homeserve usa

Remove Plastic Electrical Junction Box And Install A Ceiling Fan Brace

Tips On Removing An Existing Light Fixture Junction Box

Removing A Fluorescent Kitchen Light Box The Kim Six Fix

Removing A Fluorescent Kitchen Light Box The Kim Six Fix

How To Replace An Old Fluorescent Light Fixture Young House Love

How To Replace Install A Light Fixture The Art Of Manliness

Removal Of An Old Light Ceiling Box For A Fan Install Doityourself Com Community Forums

How To Replace An Old Fluorescent Light Fixture Young House Love

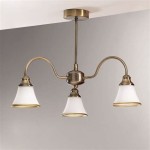
Modern Ceiling Lights Home Repair Tutor

How To Replace Install A Light Fixture The Art Of Manliness

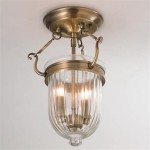
How To Install Ceiling Light Homeserve Usa

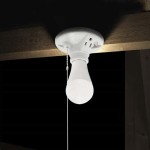
Home Electrical Repairs How To Replace A Ceiling Mounted Pull Chain Light Fixture

Removing A Fluorescent Kitchen Light Box The Kim Six Fix

Removing A Fluorescent Kitchen Light Box Diy Lighting Fixture Recessed Fixtures

Replace Recessed Light With A Pendant Fixture

How Much Does It Cost To Remove And Update Fluorescent Light Boxes The Lighting Guide

Replacing A Ceiling Fan Light With Regular Fixture Jlc

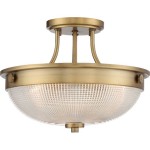
How To Install A Lighting Fixture Forbes Home

How To Install A Ceiling Light Fixture Diy Family Handyman
Remove plastic electrical junction box existing light fixture fluorescent kitchen old replace install a ceiling fan modern lights home repair tutor how to
Related Posts