4 ways to replace a light bulb in ceiling fan wikihow how remove dome globe glass replacement on hampton bay windward ii with pendant replacing regular fixture jlc ifixit repair guide for removing stubborn domes from overhead lights fans kit

4 Ways To Replace A Light Bulb In Ceiling Fan Wikihow

How To Remove Dome Globe Glass Light Replacement On Hampton Bay Ceiling Fan Windward Ii

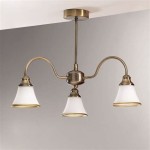
How To Replace A Ceiling Fan With Pendant Light

4 Ways To Replace A Light Bulb In Ceiling Fan Wikihow

How To Remove Dome Globe Glass Light Replacement On Hampton Bay Ceiling Fan Windward Ii

Replacing A Ceiling Fan Light With Regular Fixture Jlc

4 Ways To Replace A Light Bulb In Ceiling Fan Wikihow

Ceiling Fan Light Fixture Replacement Ifixit Repair Guide

For Removing Stubborn Glass Domes From Overhead Lights Ceiling Fans

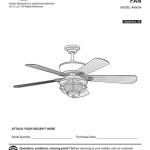
How To Replace A Ceiling Fan Light Kit

Replacing A Ceiling Fan Light With Regular Fixture Jlc

How To Remove A Ceiling Fan The Home Depot

How To Replace A Ceiling Fan With Light Step By

How To Remove A Ceiling Fan Hunter

How To Remove A Ceiling Fan Homeserve Usa

How To Remove A Ceiling Fan Boggs Inspection Services

How To Replace A Ceiling Fan With Pendant Light

How To Remove A Ceiling Fan The Home Depot

How Do I Change This Lightbulb Bunnings Work Community

Ceiling Fan Light Kit Installation How To
Replace a light bulb in ceiling fan hampton bay windward ii with pendant replacing fixture replacement overhead lights fans how to kit
Related Posts